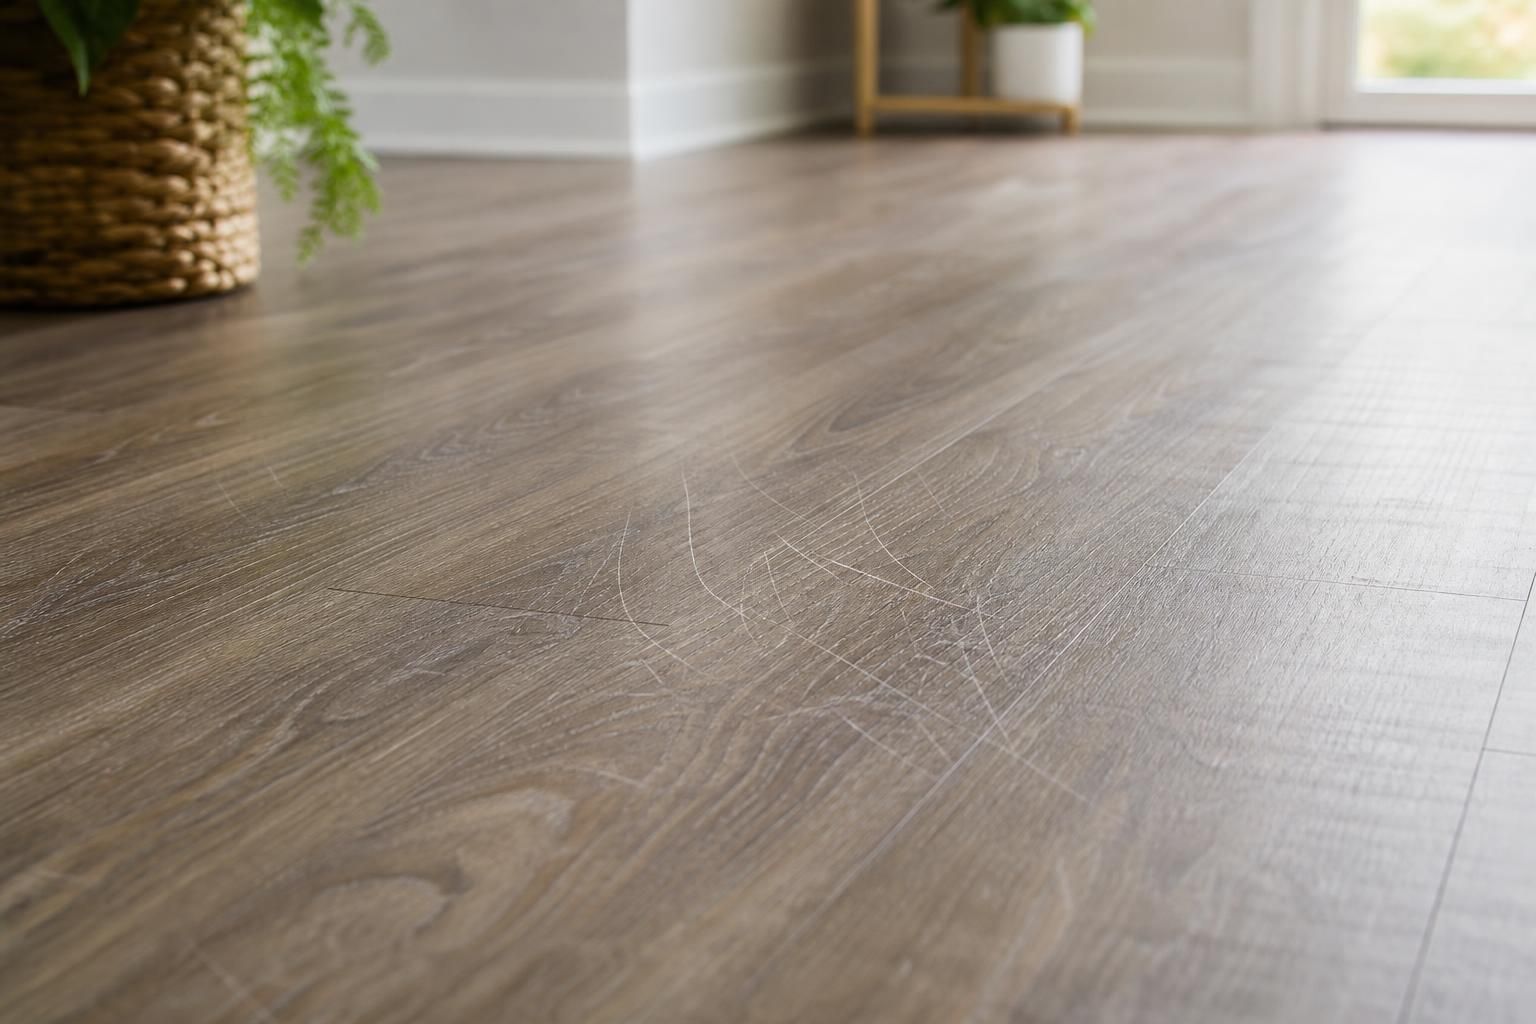
How to Repair a Scratched Vinyl Plank Floor
Key takeaway
Most light scratches on vinyl plank flooring can be buffed out or filled with a color-matched vinyl repair compound in under 30 minutes, without removing the plank. Deeper gouges that cut through the wear layer into the printed design usually need a vinyl seam filler or, if the cut reaches the backing, a full plank replacement. Which fix applies depends entirely on how deep the damage goes, not how big it looks on the surface.
Key takeaways
- Surface scratches that don't catch a fingernail can often be buffed out with a white non-gel toothpaste or a dedicated vinyl scratch-repair kit.
- Deep gouges through the wear layer need a color-matched vinyl filler or a swapped-in replacement plank, not just surface polish.
- A thicker wear layer resists scratching in the first place — this matters most for pet owners and rentals, and it's worth checking before you buy.
Figure Out How Deep the Scratch Actually Goes
Run a fingernail across the mark. If it doesn't catch, you're dealing with a surface-level scuff in the clear wear layer — the protective top coating on luxury vinyl plank. If the nail catches or you can see the printed pattern layer disrupted, the scratch has gone deeper and surface polish alone won't fix it. On SPC rigid-core planks, the wear layer sits on top of a printed film and then a rigid stone-plastic composite core, so a scratch that reaches the core will show a different color or texture than a scratch that only dulled the top coat.
Fixing Light Surface Scratches
For shallow scuffs and hairline scratches:
- Clean the area with a damp microfiber cloth and let it dry fully — grit left in the scratch will make any repair look worse.
- Apply a small amount of plain white, non-gel toothpaste or a manufacturer vinyl-floor scratch-repair paste directly to the mark.
- Buff in a circular motion with a soft cloth for 20-30 seconds.
- Wipe away residue and check under angled light; repeat if the scratch is still visible.
This works because the compound fills microscopic grooves in the wear layer and polishes the surrounding sheen back to match. It won't work on anything deeper than the clear coat. For day-to-day care that prevents these scuffs from accumulating in the first place, the cleaning routine covered in how to maintain vinyl plank flooring in a beach house applies just as well to inland homes dealing with sand, grit, or pet claws.
Fixing Deeper Gouges
When a scratch has broken through into the printed layer:
- Clean and dry the gouge thoroughly.
- Apply a color-matched vinyl floor repair filler (sold in tube or putty form) directly into the groove, slightly overfilling it.
- Scrape the excess flush with a plastic putty knife once the filler begins to set — don't wait for it to fully cure or it will be too hard to level.
- Let it cure per the product's instructions, then buff lightly with fine sandpaper (1000+ grit) if needed to blend the sheen.
Color-matching is the hard part — most fillers come in a handful of base tones, not an exact match to every vinyl plank pattern, so test on an off-cut or in a closet corner first. If you're repairing a gouge that involves any solvent-based filler, work with a window open; the Consumer Product Safety Commission recommends ventilating indoor spaces when using solvent-based household repair products to avoid buildup of fumes.
When to Replace the Plank Instead of Repairing It
A filler repair is a patch, not a restoration — it will always be slightly visible up close. Replace the plank entirely when:
- The gouge reaches the rigid core or subfloor-facing backing, not just the printed layer.
- The damage is near a seam or edge, where a filler won't hold up to foot traffic.
- It's a high-visibility area (entryway, kitchen island) where even a good color match will bother you every time you see it.
Click-lock luxury vinyl plank can often be disassembled row by row back to the damaged plank and reassembled without redoing the whole floor, which is one reason it's worth keeping a few boxes of leftover planks from the original install in storage. If you don't have spares, matching the exact pattern and batch later can be difficult since dye lots shift over time — another reason to buy slightly more than the square footage you measure.
Picking a More Scratch-Resistant Plank for Next Time
If you're repairing the same few spots repeatedly — under a rolling office chair, in front of a sliding door track, wherever the dog turns circles — the plank's wear layer thickness is usually the real issue, not the installation. Wear layers on residential luxury vinyl plank commonly range from roughly 6 mil on economy product up to 20+ mil on commercial-grade lines, and the thicker end holds up dramatically better against scratching and gouging in high-traffic zones. The differences between entry-level and commercial-grade product are laid out in this breakdown of vinyl plank flooring grades, and the layer structure itself — wear layer, print film, core, backing — is explained in what vinyl plank flooring is made of if you want to understand what you're buying before a repair becomes a replacement project.
The Resilient Floor Covering Institute publishes general guidance on resilient flooring wear-layer performance and maintenance that's worth skimming if you're comparing products for a high-traffic room.
Preventing Scratches Before They Happen
Felt pads under furniture legs, floor protectors under rolling chair casters, and trimmed pet nails prevent the majority of scratches that homeowners end up filling later. Grit tracked in from outside is the other major cause on Oʻahu specifically — sand and coral grit act like sandpaper under shoes and furniture feet, so a walk-off mat at entry points does more for long-term floor appearance than any repair kit.
If a repair project turns into a full-room replacement because the damage is widespread or the existing product is discontinued, Hawaiʻi-licensed contractors and homeowners sourcing in volume can compare published per-square-foot pricing at H&W Flooring, including the wholesale tier structure for larger jobs.
Frequently Asked Questions
Q: Can you buff out a scratch on vinyl plank flooring?
Yes, if the scratch is shallow and limited to the clear wear layer. Buffing with a vinyl-safe scratch-repair paste or plain white non-gel toothpaste, then wiping clean, resolves most surface scuffs without any filler or replacement.
Q: What household product removes light scratches from vinyl flooring?
Plain white, non-gel toothpaste applied with a soft cloth in a circular motion is a common fix for very light surface scratches, since its mild abrasives polish the wear layer without cutting into it. Deeper scratches need a dedicated vinyl repair filler instead.
Q: Can a single damaged vinyl plank be replaced without redoing the whole floor?
Yes, in most click-lock installations the floor can be disassembled row by row back to the damaged plank and reassembled, especially if matching spare planks from the original box were kept in storage. Glued-down installations are harder to isolate and may require cutting out the damaged section instead.
Q: Does a thicker wear layer actually prevent scratches?
Yes. Residential wear layers commonly range from around 6 mil to 20+ mil, and the thicker end resists scratching, gouging, and dulling far better in high-traffic or pet-heavy households, which is the main spec difference between economy and commercial-grade luxury vinyl plank.
Q: Is it safe to use solvent-based vinyl floor filler indoors?
It can be, as long as the room is ventilated while the product is applied and curing. The Consumer Product Safety Commission recommends opening windows or using fans when working with solvent-based household repair products to limit fume exposure indoors.